
Cheaper To Make And Easier To Assemble
It is important that every door or window of a home or any other building structure that is erected near a mosquito-prone area be fitted with an insect screen. As a matter of fact, a do-it-yourself insect screen is easier to assemble, cheaper to make and uses readily available materials.
Doing so guarantees unhindered inflow of fresh air but without the undesired side effects of letting in mosquitoes, flies, and bugs. Inasmuch as there are ready-made insect screens, you too can create your own.
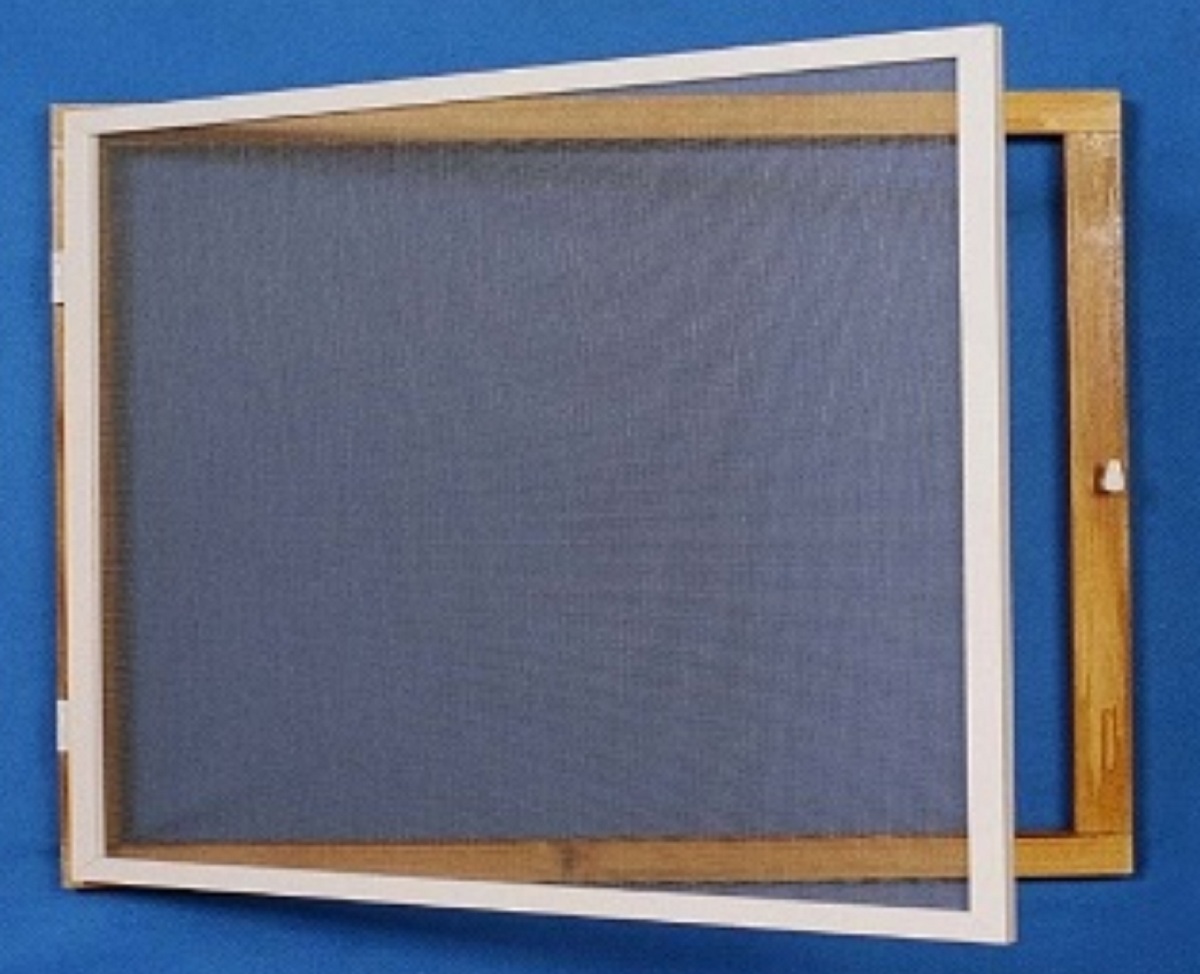
These insect screens are made of metallic wires or fibreglass. They further comprise synthetic fibre mesh that is held in place using wood or metal. The actual procedures stipulated here below can be followed:
Obtain The Necessary Measurements
Start by measuring the dimensions of your window or any other place where you have decided to place the insect screen. Measure the lengths and the widths of the location you have selected. Take the measurements from the interior edges of the said locations or openings.
Next, determine how you will mount the insect screen. This will also determine the length and the widths of the screen. In case you plan to mount the screen is on the window sill, add an extra inch to the width and a half an inch to the height of the opening.
In case you plan to mount it on the front window, give room for overlapping by adding half an inch to the measurements of either opening. Slash one centimetre off the measurements if you plan to place it inside the door or window.
Prepare The Frame Pieces
Proceed now to prepare the frame pieces. As stated, the screen frame and the corner stakes shall hold the wire mesh in place. For this reason, you should obtain the right measurements.
This will also see to it that the frame is as compatible with the opening as nearly as possible. To see to it that this happens, take the measurements of the corner stakes ways from those of the entire frame.
Once you have obtained the right measurements, cut the various components as per the measurements needed. Measure each piece starting from the exterior portions. Be certain that the ends are at the angle of around 45 degrees. Finish off by smoothing the rough edges by use of a sandpaper or file.
Assemble The Frame
Place the frame components on a flat surface. Fit the various pieces of the frame in such a way as to form the required rectangular structure. Attach the corner stakes to the corners of the frame to keep it in the desired shape and form. Tighten the joints by use of a hammer.
Insert The Wire Mesh
Now finish off constructing the screen by inserting the wire mesh. To do so, lay the wire mesh screen over the frame. Cut the screen and follow this by inserting the edges of the frame in the grooves.
Be sure to make the sizes of the sides at least 2 centimetres wider than the screen frames. Take care of the fitness of the corners as well. This is to minimise any chances of fall-off or sliding.
Lock the screen securely on one side of the frame by use of staples. Pull and tighten the other side. Lock and secure the remaining corners as tight as possible. Trim off any excess screens to obtain a clean appearance.
Conclusion
Well, as you may well have noted, making a do-it-yourself insect screen is not so daunting. It is a task you can clearly do on your own. This being the case, why don’t you now proceed and construct your own?
The Professionals
If you need further assistance for the do-it-yourself insect screen, call us for any inquiries Flyscreens Sydney 02 8294 8311!